


Pickup Tailgate Light Bar Installation Guide
This guide is for customers installing a Tutu Car Light pickup tailgate light bar on a pickup truck. Use it before you mount the strip, route the wiring, or test the brake and signal functions.
This is a wired rear-lighting accessory. Take your time with the dry-fit and wiring route. If vehicle wiring is not your thing, ask a qualified installer to check the connection before final mounting.
Applies to
This guide applies to the Pickup Tailgate Light Bar sold on our product page, including the Plug & Play and Hardwire choices under that same product link.
Start by matching the version in your box to the guide below. Plug & Play is built for the quicker connection path; Hardwire is for trucks that need a more direct brake and signal-wire setup.
Before you start
- Confirm your product version and included parts. Lay out the light bar, connector or wire lead, instruction sheet, and mounting accessories before you start.
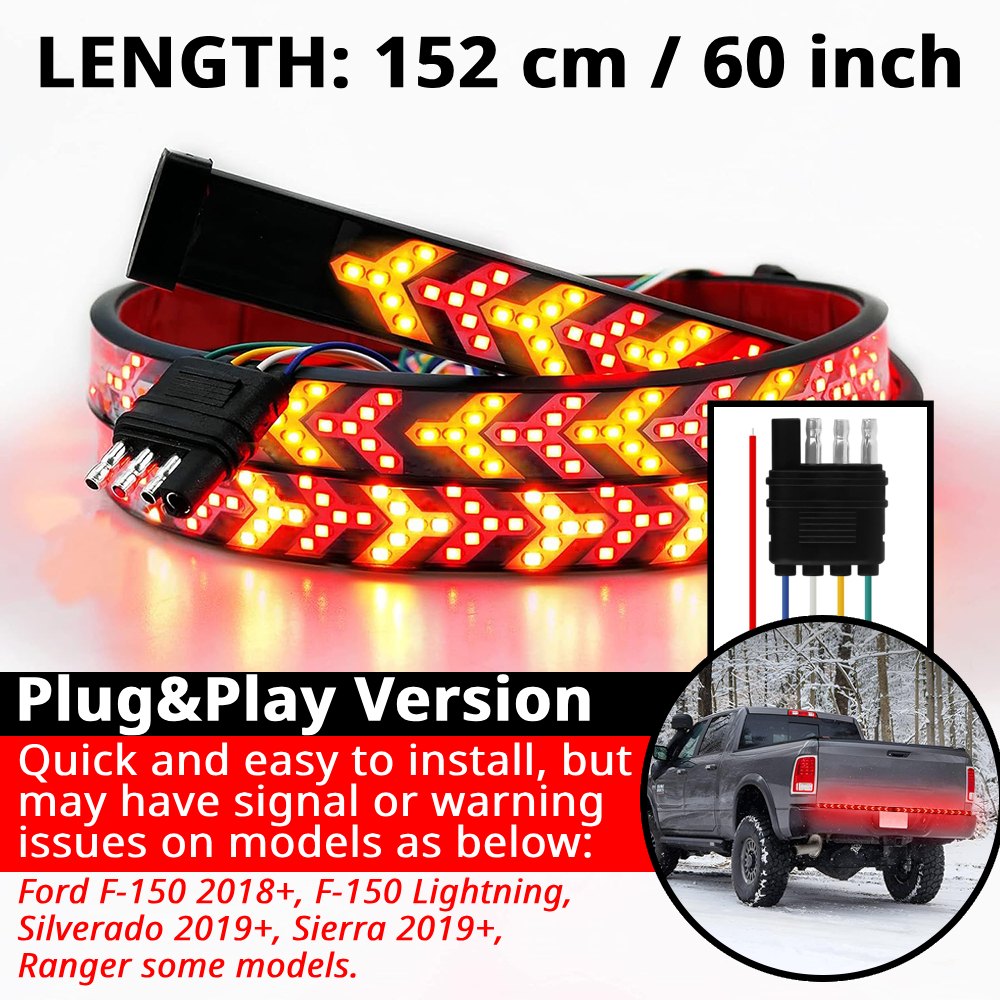
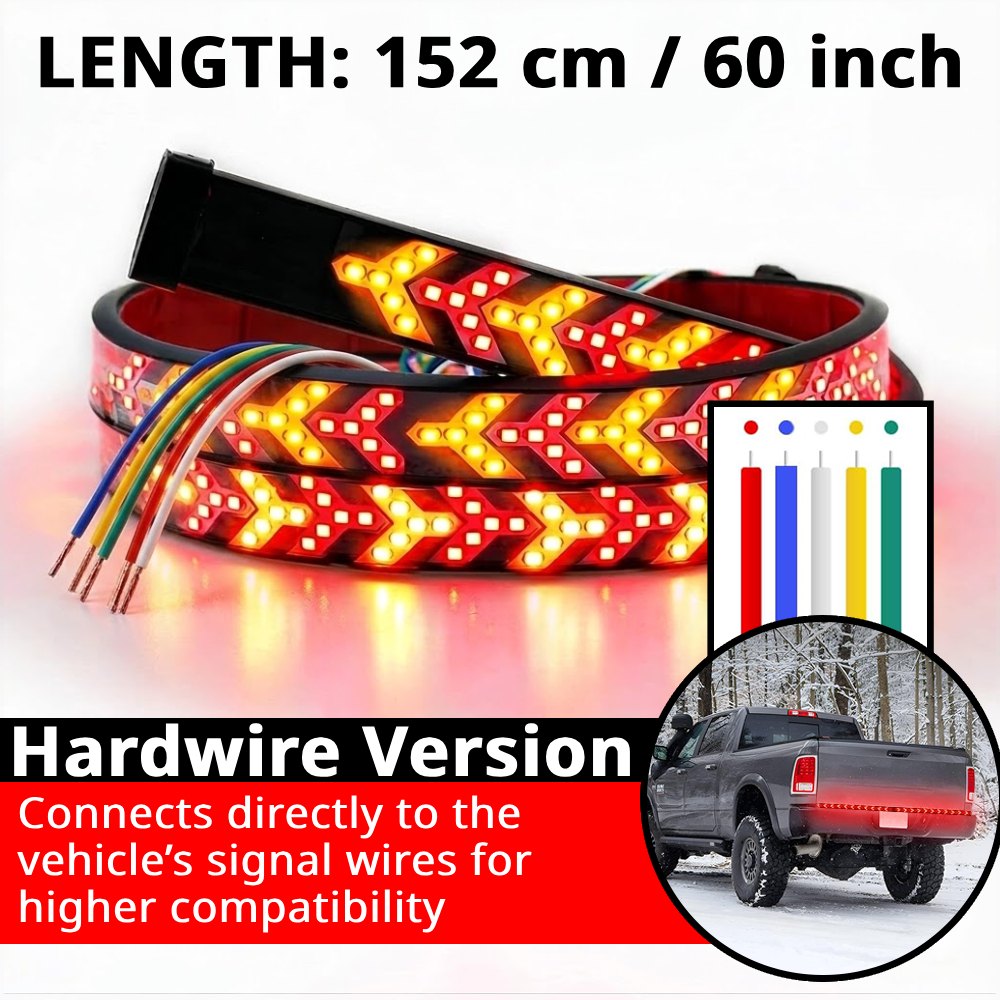
- Check tailgate width and mounting position. Available sizes include 122 cm / 48 inches and 152 cm / 60 inches. Measure the flat mounting path before you peel any adhesive.
- Clean and dry the mounting surface. Dust, wax, moisture, road film, and old adhesive can make the strip lift later.
- Plan the wire route. Keep wiring away from hinges, sharp edges, exhaust heat, pinch points, and moving tailgate parts.
- Test the light before final mounting. Check the supported brake, running light, turn signal, and hazard functions before locking in the final cable route.
Tools and materials
Keep this simple unless your included instruction sheet says otherwise.
- Clean cloth
- Isopropyl alcohol wipe or a paint-safe prep pad. Do not use acetone, paint thinner, or harsh solvents.
- Measuring tape
- Tape for temporary positioning during dry-fit
If your truck requires hardwiring and you are not comfortable identifying vehicle lighting circuits, stop and use a qualified installer. Guessing around brake and turn-signal wiring is not worth the headache.
Plug & Play or Hardwire version
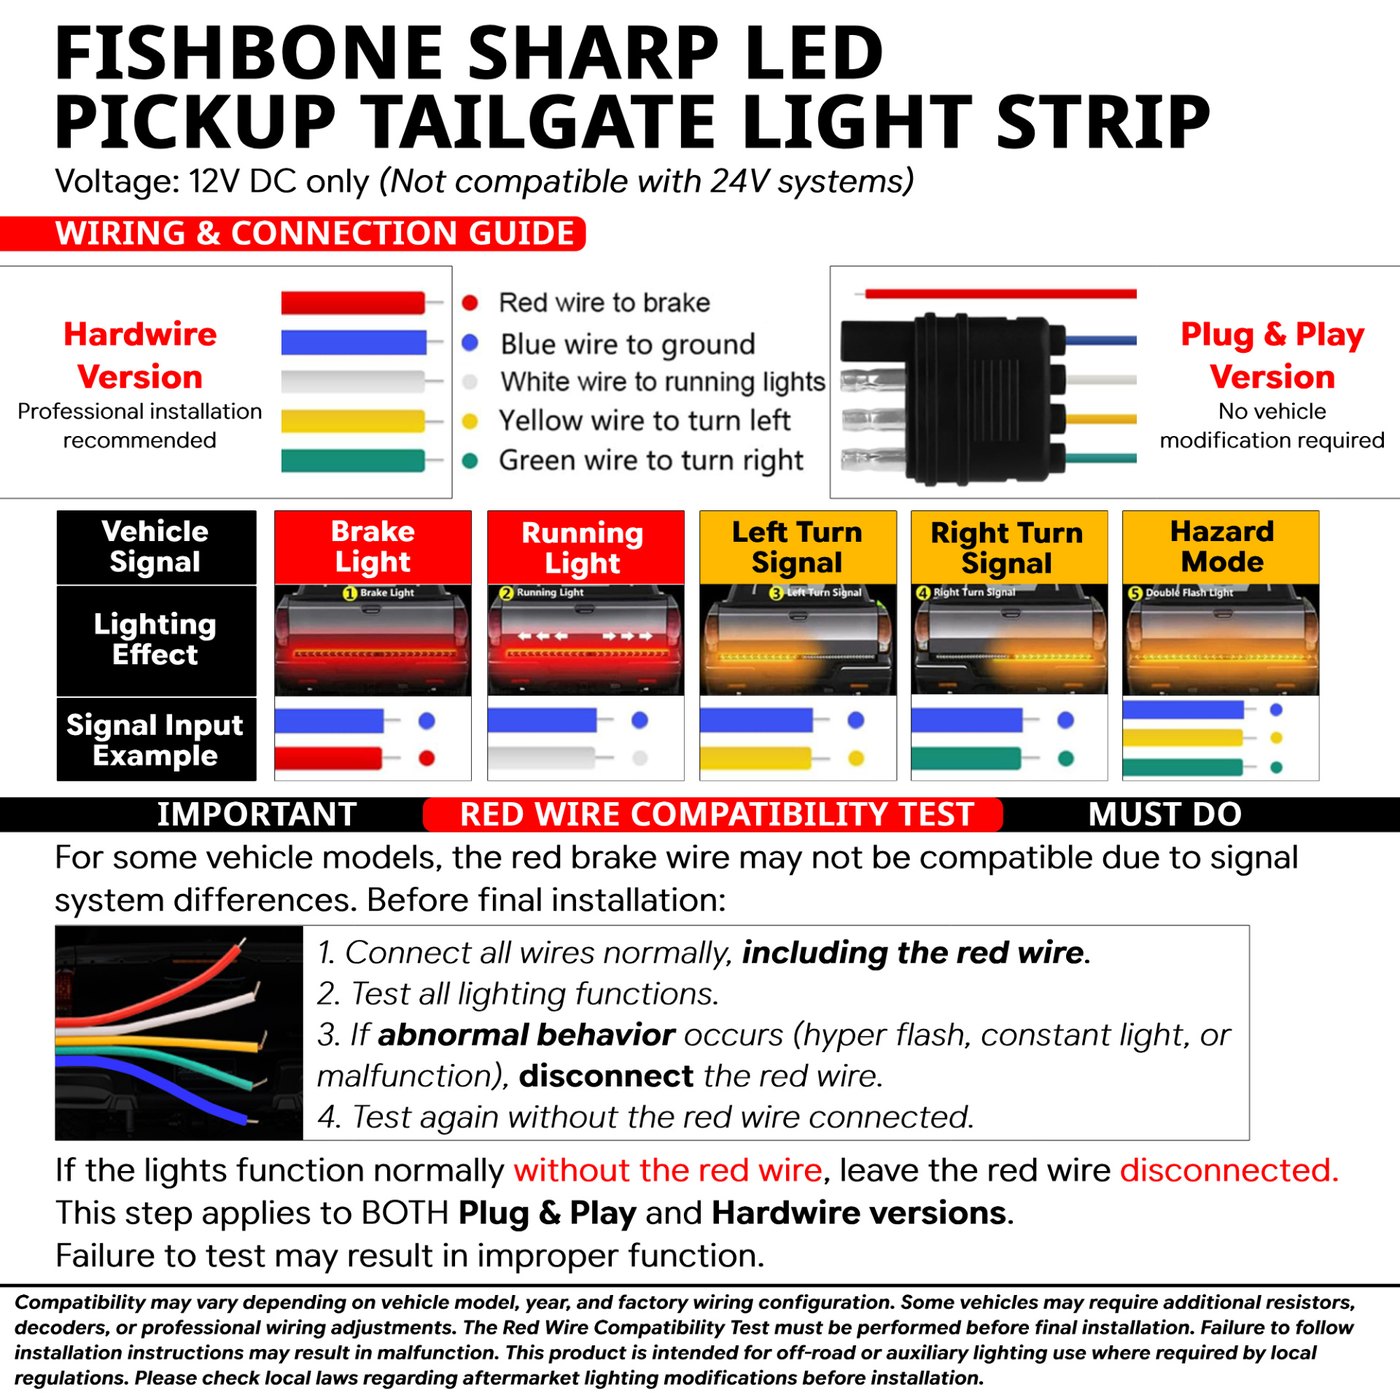
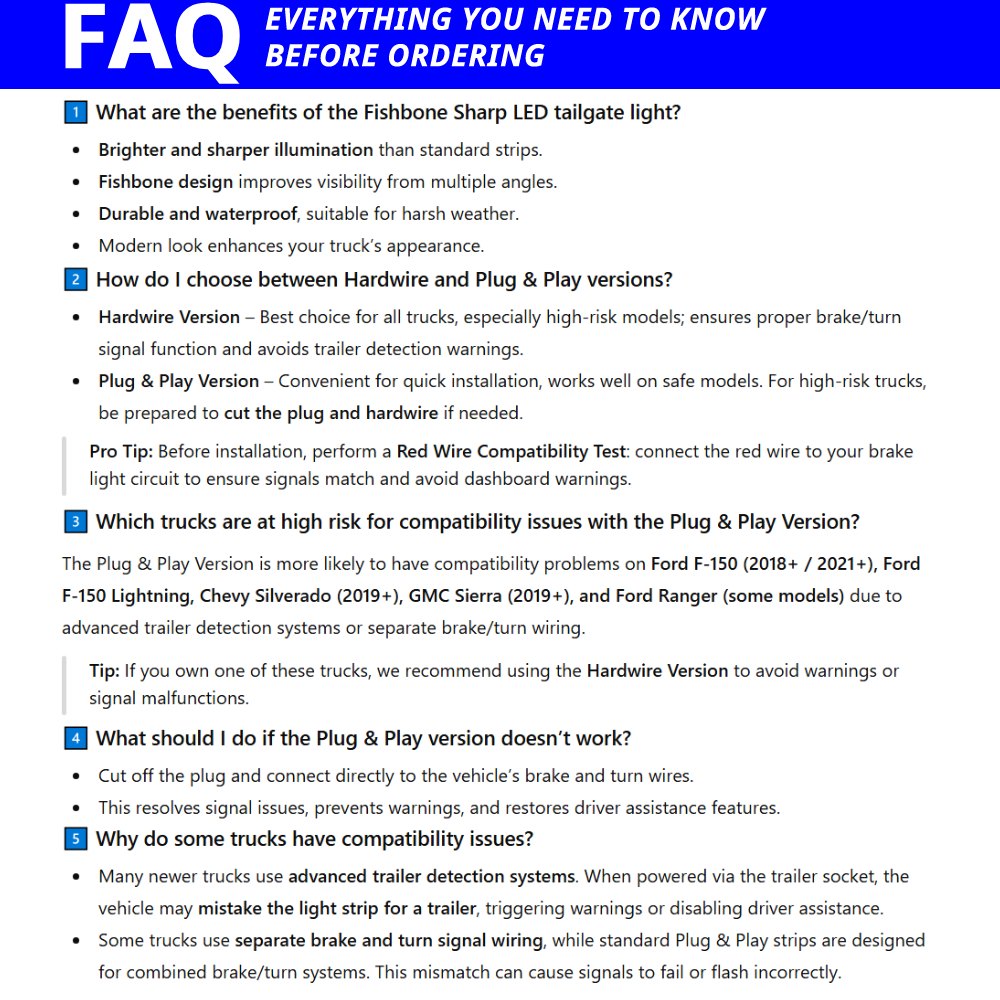
Before mounting, confirm which version you have. The Plug & Play version is the faster route when the truck accepts the trailer-style connection cleanly. The Hardwire version connects directly to the vehicle’s signal wires, which gives you more control on trucks that do not play nicely with plug-and-play rear lighting.
Some newer trucks can be picky because of trailer-detection systems or separate brake and turn-signal wiring. Our installation notes flag possible Plug & Play issues on Ford F-150 2018+, F-150 Lightning, Chevy Silverado 2019+, GMC Sierra 2019+, and some Ford Ranger models. If your truck is in that group, do not skip the function test before final mounting.
If one of those trucks shows hyper flash, constant lighting, dashboard warnings, or brake/turn signals that do not behave correctly with the Plug & Play setup, the recommended fix is to remove the plug and hardwire the light bar directly to the vehicle’s brake and turn-signal wires. If you are not comfortable cutting the plug or identifying those circuits, have an installer do it.
Installation steps
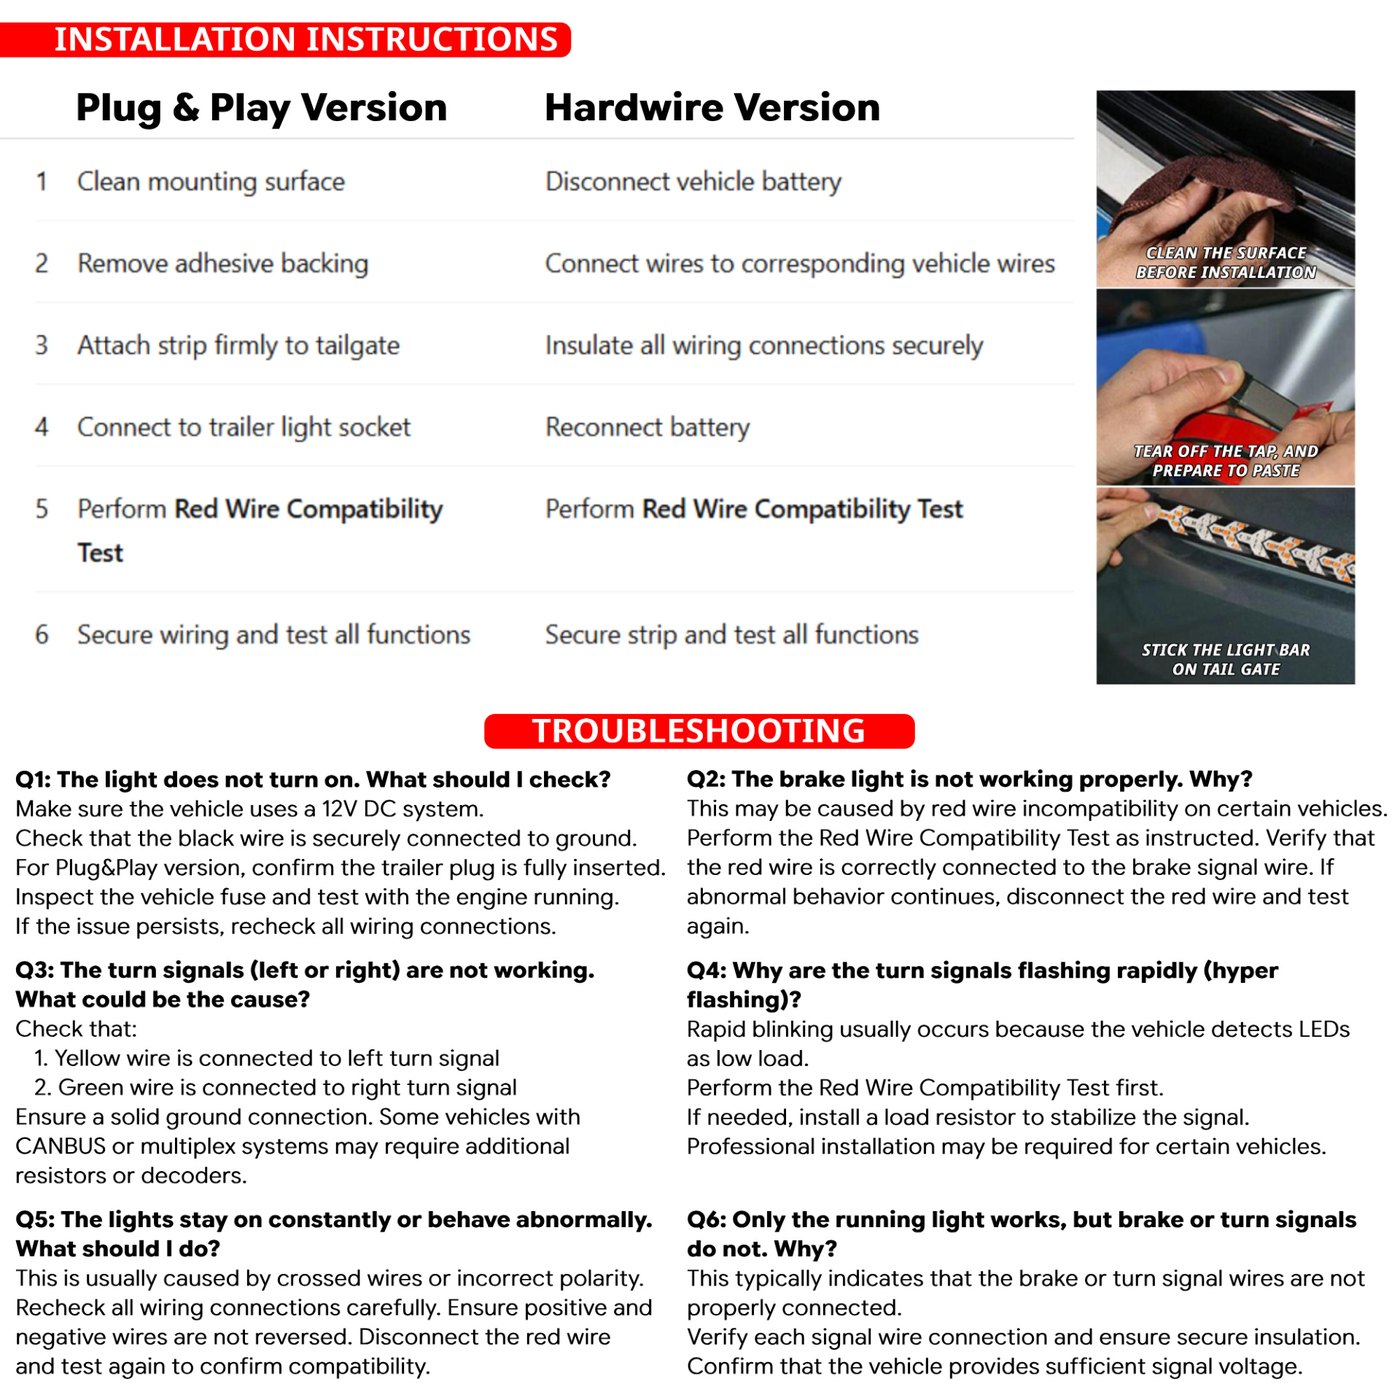
1. Do the shared prep first
- Dry-fit the tailgate light bar. Hold the strip across the rear mounting path before peeling adhesive. Make sure the length fits the area you measured.
- Confirm the light is centered and visible. Step back and check the line from behind the truck. The strip should sit straight and should not hide factory lights.
- Check tailgate movement. Open and close the tailgate slowly. Watch for rubbing, pinching, stretching, or contact with the strip or wire route.
- Plan the wire route. Keep the wire away from hinges, latch areas, sharp metal edges, heat, water-collecting spots, and moving parts.
2A. If you have the Plug & Play version
- Connect the plug to the matching trailer-light connection shown for your kit.
- Test brake light, running light, left turn signal, right turn signal, and double-flash hazard effects before mounting.
- Run the Red Wire Compatibility Test below before final installation.
- If everything works normally, secure the loose wiring and then mount the strip.
- If your truck is one of the newer models mentioned above and the Plug & Play setup causes warnings or abnormal signal behavior, cut off the plug and hardwire directly to the vehicle’s brake and turn-signal wires. Use a qualified installer if you are not fully comfortable doing that.
2B. If you have the Hardwire version
- Route the wire lead along the planned path before making the final connection.
- Connect the light bar according to the wiring diagram for your kit. Do not guess wire colors from memory.
- Test brake light, running light, left turn signal, right turn signal, and double-flash hazard effects.
- Run the Red Wire Compatibility Test below before final installation.
- Once the functions work correctly and the tailgate moves normally, secure the wire path and mount the strip.
Short installation video for checking placement and the fishbone-style lighting effect before final mounting.
Red wire compatibility test
Do this test before final mounting. Some truck signal systems may not work correctly with the red brake wire connected, so the test helps you catch problems before the strip is stuck in place.
- Connect all wires normally, including the red wire.
- Test all lighting functions.
- If abnormal behavior appears, such as hyper flash, constant light, or malfunction, disconnect the red wire.
- Test the light again without the red wire connected.
If the light functions normally without the red wire, leave the red wire disconnected. This test applies to both Plug & Play and Hardwire versions. Skipping it can lead to improper brake or signal behavior after installation.
Placement tips
- Keep the strip straight. A wavy tailgate strip looks sloppy and may stress the adhesive.
- Do not block factory lighting. Keep the truck’s original tail lights, brake lights, turn signals, license plate, backup camera, hitch, and tailgate handle visible and usable.
- Avoid weather seals and latch areas. These spots move, compress, or collect dirt and water.
- Avoid pinch points. The wire should not get squeezed when the tailgate opens or closes.
- Do not mount where the strip can be kicked, scraped, or crushed. Rear bumpers and hitch areas take abuse. Give the light a clean protected path.
Common mistakes
- Skipping the dry-fit. Measure and test the position first. Once adhesive is pressed down, moving the strip is harder.
- Mounting before testing. Always test functions before final mounting and cable routing.
- Routing wires through moving areas. Tailgate hinges and pinch points can damage the wiring.
- Assuming every truck wiring setup is the same. Newer trucks may use trailer detection systems or separate brake/turn wiring, so the same connection method may not behave the same on every model.
- Ignoring abnormal signal behavior. Hyper flash, constant lighting, or dashboard warnings usually mean you should stop and recheck the version, connection, and wiring guide.
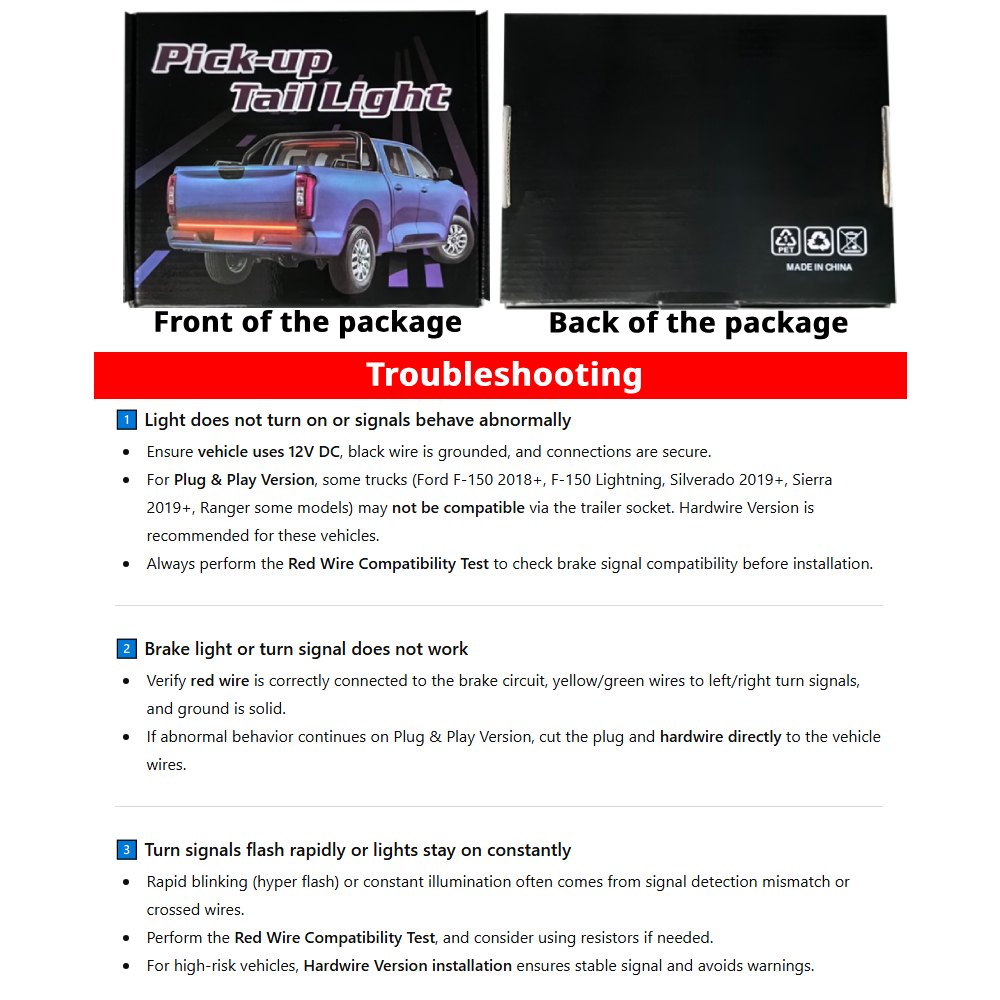
Troubleshooting
Light does not turn on
- Confirm the product is connected according to the included instructions.
- Check that the ground connection is solid and the connector is seated securely.
- This light bar is designed for 12V DC vehicle systems. If your truck setup is different, stop and ask a qualified installer.
- If you are unsure, contact support or a qualified installer instead of guessing.
Only part of the light works
- Stop before final mounting.
- Recheck the connector and the wiring route for loose, crossed, or pinched connections.
- Compare the behavior with the included instruction sheet for your exact version.
Brake or signal behavior does not match expectation
- Newer trucks with trailer-detection systems can show signal mismatch, hyper flash, constant light, or dashboard warnings.
- Use the Red Wire Compatibility Test shown in the instruction sheet for this product.
- If abnormal behavior continues, switch to the Hardwire setup or ask a qualified installer to check the truck wiring.
Adhesive does not hold
- Remove dust, oil, wax, and moisture from the mounting area.
- Let the surface dry fully before pressing the strip into place.
- Avoid textured, dirty, wet, or curved areas where the adhesive cannot make even contact.
Tailgate movement interferes with the light or wiring
- Do not force the tailgate closed.
- Move the wire path away from hinges, latch areas, and pinch points.
- Dry-fit again and confirm the tailgate opens and closes normally before remounting.
When to contact support
Contact Tutu Car Light support if the light will not power on, only part of the strip works, signal behavior does not match the instructions, the adhesive will not hold after surface prep, or the tailgate movement interferes with the strip or wiring.
Please include:
- Your order number
- The product link: Pickup Tailgate Light Bar
- Your truck make, model, and year
- Photos of the tailgate mounting area
- Photos of the wiring or connector area
- A short video showing the issue and the light behavior